Welcome to Crossing Creeks RV Resort & Spa in the heart of iconic Blairsville
Here’s How To Keep RV Awnings Looking Good and Working Well
Written by Matt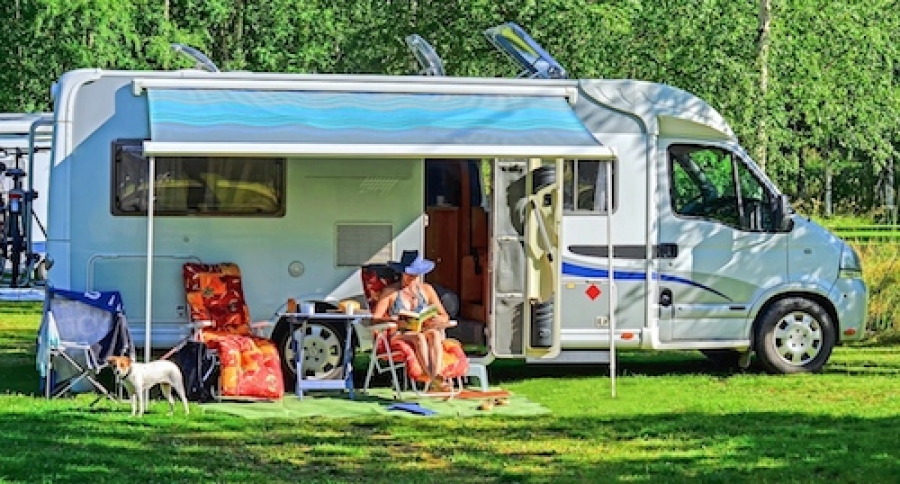
Nothing on your RV says “relaxation” more than your RV awning. You press a button to open it, take a seat in its shade, and probably — quite often — dine under it. And when you’re ready to hit the road, you just press a button again to retract it.
But even this relaxation station requires maintenance. Moving parts need lubrication periodically. And the fabric (usually woven vinyl) requires cleaning, removal of mildew, and application of a sealant/protectant — especially before long-term storage.
Clean the Awning First
You’ll want to clean your awning first. Always check your owner’s manual to make sure you are using chemicals that won’t harm it. Mildew builds up on an awning after it gets wet, and sometimes when it’s rolled up. So it’s good to use a product that contains bleach or a mildew fighter. An alternative is a mixture of a ¼ cup bleach and ¼ cup dishwashing liquid in a 5 gallons of water.
Things you’ll need, all of which you can buy at a home center:
- Old clothes and hat (bleach spots clothes and hair)
- Cleaning agent
- Bucket
- Hose and running water
- Applicator (garden-type pressure sprayer with a hand pump and resistance to damage from bleach)
- Long-handled soft-bristle brush or sponge
- Hand sponge
- Reading material (yes, really)
- Long-handled paint roller
- Sealant/protectant, such as 303 Products
Follow these steps:
- Open your awning.
- Check for color fastness on an area that’s out of view — near the top, where a strip of the fully extended awning faces the side of your RV.
- Mix the cleaning solution and pour into the sprayer.
- Hose down the top side of the awning. Use a garden sprayer to apply the cleaner. Hose off the bottom of the awning.
- Roll the awning to its travel position and wait 10 to 15 minutes while the solution works.
- Find some shade and read. (Didn’t I tell you?)
- Open the awning again. Rinse thoroughly with the hose and inspect. Scrub stubborn stains with the brush or sponge. If the awning appears still to be dirty, repeat Steps, 4, 5 and 6. Really dirty awnings may require a third application.
- Re-open and let dry. Once the awning dries, use the roller to apply the sealant/protectant.
- Allow protectant to thoroughly dry (sometimes up to 12 hours, less in direct sunlight), and keep it free of water until it does.
Awning Lubrication Ensures Smooth Operation
Now it’s time to lubricate. You’ll need two things:
- Silicone-based spray lubricant
- Rag or paper towel
Follow these steps:
- While your awning is open, spray the lubricant on moving parts: hinges, the ends of the awning roller, support arm pistons. Wipe off drips and runs with the rag/paper towel.
- Open and close the awning several times so the lubricant works in. Wipe any excess lubricant.
That’s it. You are now ready for weeks — maybe months — of enjoying your awning before having to do this again.
Until your next major cleaning, use a sponge to spot-clean soiled areas, such as bird droppings. If the awning gets a lot of use, do intermittent cleanings with a non-bleach cleaner, such as Simple Green. It’s not as harsh on the fabric. This biodegradable, natural concentrate eats through grease effortlessly.
Leave a comment
Make sure you enter all the required information, indicated by an asterisk (*). HTML code is not allowed.